.png)

.png)


Atomic Theory Gallery Walk: Teaching the History of the Atom

Ask students who discovered the nucleus, and they may give you Rutherford’s name without much hesitation. Ask what the gold foil results revealed about the atom, and the answer can take a little longer.
That gap is easy to miss when we teach the history of the atom. Students can fill in a timeline, match scientists to diagrams, and still struggle to explain why anyone needed a different model in the first place.
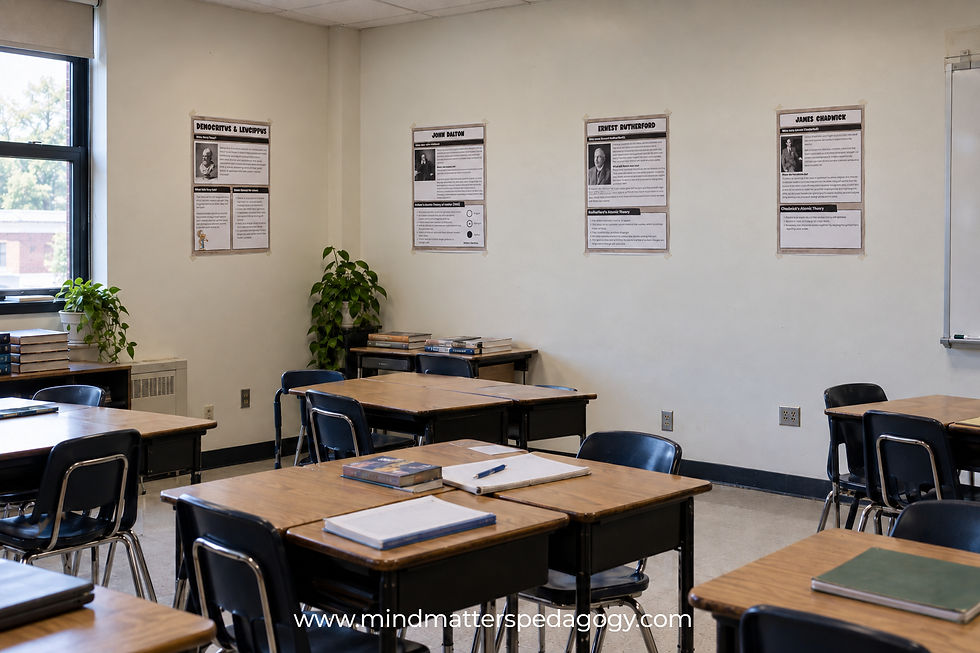
An atomic theory gallery walk gives students a way to investigate those connections. They work through displays of historical atomic models, experiments, and discoveries, discussing what the evidence tells them before bringing the timeline together. For middle and high school science teachers, it’s a useful approach to a topic that can otherwise become a lot of names squeezed into one lesson.
The question I want holding the activity together is this: What evidence caused scientists to change their model of the atom?
What is an atomic theory gallery walk?
A gallery walk is a classroom activity in which students visit displays, examine information, and respond to questions with a partner or small group. For the history of atomic theory, the displays might include a model of the atom, a short account of an experiment, and a diagram showing its results.
Students usually carry a recording sheet, but discussion should be part of the task. At Rutherford’s station, for example, partners might study the paths of alpha particles through gold foil and decide which observations would have surprised someone who accepted Thomson’s model.
You can use this activity to introduce the development of atomic models within an atomic structure unit or to revisit the topic before an assessment. The reading and questions will need to match what your students already know.
Why use a gallery walk to teach atomic models?
Atomic models give students plenty to look at, but a diagram by itself doesn’t tell them why scientists proposed it. A gallery walk lets you place the model beside the evidence it was intended to explain. Students can refer to both while they talk through a question, rather than trying to remember an experiment from a slide you’ve already moved past.

There’s also something useful about hearing a partner’s explanation. A student might read that most alpha particles passed through gold foil and conclude that the atom contains empty space. Their partner may then point to the particles deflected through large angles and ask, “But what made those turn back?” Now the group has two observations to account for.
Meanwhile, you can listen. If a group says Rutherford discovered electrons, or describes Bohr’s electrons as moving anywhere they please, you have a specific misconception to address during the debrief.
These are opportunities the format creates; the learning still depends on the task. Carleton College’s Science Education Resource Center emphasizes preparation, clear instructions, and assessment in its guidance on using gallery walks.
Taping information around the room is the easy part. Choosing questions that require students to use it takes more thought.
How to set up an atomic theory gallery walk
Choose the models your students need to understand
Start with your curriculum. A common sequence includes Dalton, Thomson, Rutherford, Bohr, and the modern quantum model. You may also include Democritus or Chadwick, depending on the scope of the lesson.
Give those contributions some context. Democritus’s ideas belonged to ancient philosophy; they weren’t an experimental atomic theory. Chadwick’s discovery of the neutron changed our understanding of the nucleus. It shouldn’t be presented as another electron arrangement in a tidy sequence of atom pictures.
For each main display, choose a clear visual and enough explanation for students to interpret it. Define unfamiliar terms such as cathode ray and alpha particle. Otherwise, a question intended to assess scientific reasoning may mostly test whether students understood the vocabulary.
Plan the route before students start
Place the displays where small groups can gather without blocking one another. Groups of two or three are a reasonable starting point: students have someone to discuss ideas with, and you’re less likely to have five people trying to read over one shoulder.
There’s a practical wrinkle with this topic. If every group begins with Dalton, you can create a queue before the lesson has properly started. Spread groups across different starting stations instead, making each display understandable on its own. Include a small reference timeline so students can locate their station within the larger history, then reconstruct the full sequence together afterward.
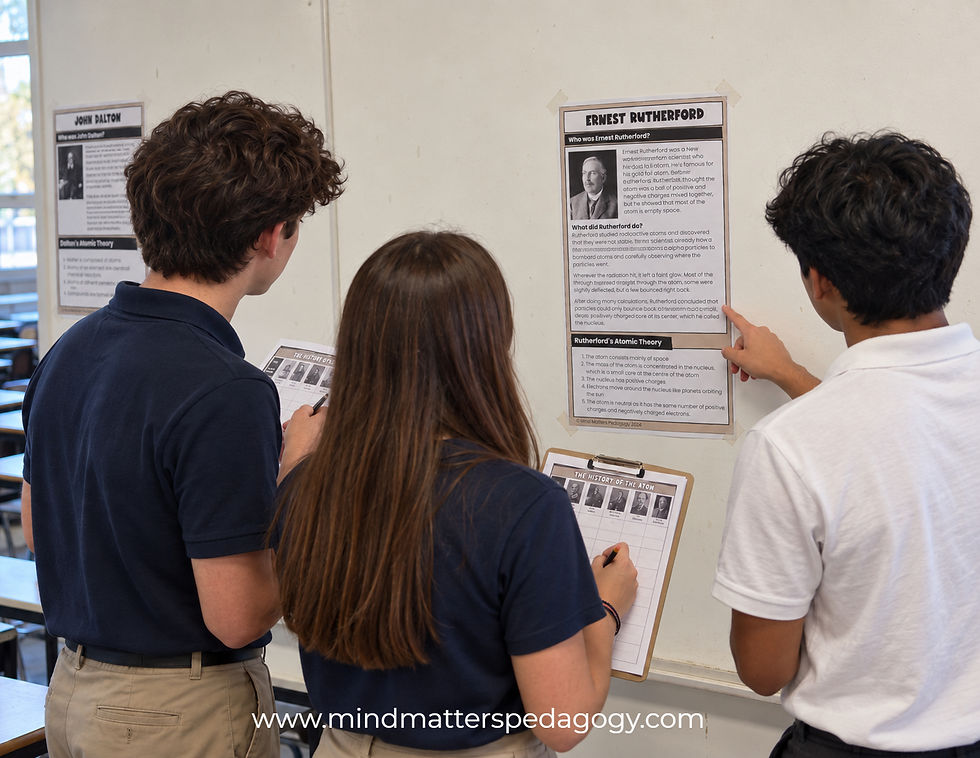
Try one station yourself to estimate the reading and discussion time. If the materials are substantial, split the gallery walk across lessons or select fewer stations. Keep time for the debrief; that’s where you can help students connect discoveries they encountered in a different order.
If moving around the room is difficult for a student or impractical in your classroom, bring station packs to seated groups. Students can still examine the evidence and discuss the models.
Give students a manageable recording task
I would keep the organizer focused on three questions:
What did this model suggest about the atom?
What evidence supported it or challenged the previous explanation?
What could this model explain, and what remained unresolved?

Students may need names and dates for your course, too. Include them where necessary, but leave room for an explanation. A completed box saying “discovered the nucleus” tells you much less than a sentence connecting the nucleus to the scattering results.
Have each student record their own response after discussing it. That gives you something to check beyond the group’s most confident voice.
Ask questions students can’t answer by copying a caption
A question such as “What did Thomson discover?” has a place in the lesson. Students need the basic information. The problem comes when every question can be answered by finding a bold word on the poster.
Add prompts that ask students to interpret an observation or compare explanations:
Thomson: What did the deflection of cathode rays toward a positively charged plate suggest about the charge of the particles in the beam?
Rutherford: Which gold foil result was hardest to explain using Thomson’s model? Why?
Bohr: How did discrete electron energy levels help explain the line spectrum of hydrogen?
Comparing models: Choose one feature that changed between two models. What evidence made that change necessary?
At Rutherford’s station, encourage students to consider the whole set of results. Most alpha particles passed through with little deflection. A small proportion were deflected through large angles, with very few scattered backward.
Together, these observations supported a model with a very small, dense, positively charged nucleus and an atom that was mostly empty space.
The large deflections were especially difficult to reconcile with Thomson’s diffuse positive charge. If students can explain that difficulty, they’re beginning to understand why the nuclear model was proposed.
You can support students without supplying the reasoning for them. Offer a sentence starter such as “The observation that ___ suggests ___ because ___.” For students ready for more, ask what they would have expected to observe if the earlier model had been correct.
Bring the atomic theory timeline back together
After the stations, students need a chance to sort out the sequence and check their explanations. Don’t assume the connections are secure because the recording sheets are full.
A timeline card sort works well here. Students match scientists, experiments, discoveries, and models, then arrange the major developments chronologically.
Before checking the order, ask each group to explain one transition.
“Thomson came before Rutherford” gives you the sequence. A stronger response explains that Rutherford’s scattering results supported a concentration of positive charge in a tiny nucleus, which differed from Thomson’s model.

Use the discussion to address places where the familiar textbook timeline oversimplifies the history. Bohr’s model explained the main features of hydrogen’s line spectrum, but it had limitations for more complex atoms. The modern model describes electrons using orbitals and probabilities rather than fixed circular paths.
It’s also worth reminding students that this history involved many researchers. A classroom timeline selects major contributions to make a complicated development manageable.
Where the gallery walk fits in a 5E lesson
If you plan with the 5E model, you can use the gallery walk within a wider lesson sequence:
Engage: Show two different atomic models and ask how scientists could decide which explanation was better.
Explore: Have students examine the station materials and discuss what the experimental evidence suggests.
Explain: Rebuild the sequence together, introduce or clarify terminology, and correct misconceptions.
Elaborate: Use a timeline card sort or ask students to predict an experimental result from a historical model.
Evaluate: Collect an individual explanation linking a change in the model to evidence.
A reading activity needs deliberate questioning to serve the Explore phase. Give students something to interpret before providing the finished explanation, and allow them to revise their thinking during the debrief.
Check understanding with an evidence-based exit ticket
Try this prompt:
Choose one change in the atomic model. Describe the evidence that supported it and explain why the earlier model could not fully account for that evidence.
A student who writes only a scientist’s name or discovery needs another opportunity to make the connection. You’re looking for an observation and an explanation of how it affected the model.
You could also ask whether scientists were wasting their time with models that were later revised. That opens up an important discussion: a model can help explain available evidence and still have limitations. Students will meet that idea again when they use simplified diagrams of atoms to explain bonding.
Ready-to-use atomic theory gallery walk materials
If you’d like to use this approach without creating all the displays and student pages yourself, my History of the Atom Gallery Walk Lesson Pack includes nine informative posters, a graphic organizer, seven discussion task cards, a worksheet on the Bohr and modern models, six exit ticket options, answer keys, and teacher guidance.
You can use the materials to introduce the topic, then choose discussion prompts and exit tickets to suit your class. The preview will help you decide whether the reading and level of detail fit your students.
The separate timeline card sort is also available with the gallery walk in my History of the Atom Lesson Bundle, if you want students to follow the station work by building the sequence themselves.
Whether you create your own stations or use prepared materials, keep returning to the evidence during the discussion. When a student says “Rutherford discovered the nucleus,” ask which observation led to that conclusion. Their next sentence will tell you a great deal about what they’ve learned.


Comments